Preface:
As the old saying goes, it was fun while it lasted; well,
not exactly as much in doing it but figuring out how to go about it since my
only experience in working with woods was limited to building a little picket
fence (hidden in the backyard) and cutting firewood for the fireplace. In fact, most often the wood I cut wouldn’t
even burn without some scrap newspaper or some lighter fluids to start a fire
in a fireplace. J I think by now you get the idea that wood
working is not my hobby, let alone anything beyond that.
Ripping off the carpet from the stairwell was somewhat
encouraging that anything else would be just as smooth sailing as that was, and
it would have been if only the treads, risers, and side walls were within a reasonable
dimensional variance as well as geometrically (square, flat, parallel) related,
but none were. Perhaps you’ll better
understand my bewildering encounter with the stairwell’s component structure misalignment
if I acknowledge that by basic trade I am a trained Tool & Die maker who works
with metals, where precision to 1/17th part of a human hair thickness,
i.e. .0002” (more often than not) counts.
Having said that, you can see what I was faced with, and
here is how I did it – my way:
First, I designed and built (out of wood) a 1”X2.5” Tread Gauge
to measure and copy the existing pattern, i.e. relationship of each tread width
to the adjacent side walls. The design
had to be universal to accommodate 12 steps/treads individually by simple
adjustment. Also, I had to design and
build another gauge (the same size wood) for each tread riser to follow the side
walls out of square as related to the treads (steps).
Next, I used both gauges to measure the respective forms and
sizes of each tread and riser before I proceeded to cut them with a circular
saw. Since I decided to use nearly the
full depth of the new treads (11.5” by code standards) and mount them on top of
the existing/old treads (10” deep) that required some trimming and fitting along
the entire width of the new treads as well as risers.
In short, the end result is that each of the treads and risers
is individually fit to be nearly ‘air tight’ and nailed by an 18GA Pneumatic
Nailer in their respective location. The
bottom two treads required some Jig Saw cutting and fitting because of the two existing
balusters. Actually, the last task on
cutting and installation of the stairwell project was removing and reinstalling
the side spindles which was more time consuming and cumbersome than one might
think, but like the old saying goes, all’s well that ends well!
The staining of stairwell as well as the hand rail and
applying two coats of polyurethane took a couple of days. All together this was not a ‘weekend project’,
in fact it was TWO weekends and then some (11 days from start to finish)!
Do I have a word of advice for novice stairwell makers? No, I do NOT other than if you have the time and
patience to plan and then execute as you go, this might be a worthwhile project
if for no other reason than that now I can say this project turned out far better
than my firewood cutting in the past.
So long…
Here are some photos of the stairwell project as it progressed:
Precision, precision, precision...
My home made Tread Gauge...
An 'artist' at work...
The Oak tread perfectly cut for an 'air tight' fit...
One new tread cut to fit while the other is being sized up (against the side walls and existing tread riser)

All new tread have been marked by the numbers for each of the 12 steps for individual fittings
BOSTITCH 18-Gauge Brad Nailer I used for the first time ever (and it worked! :)
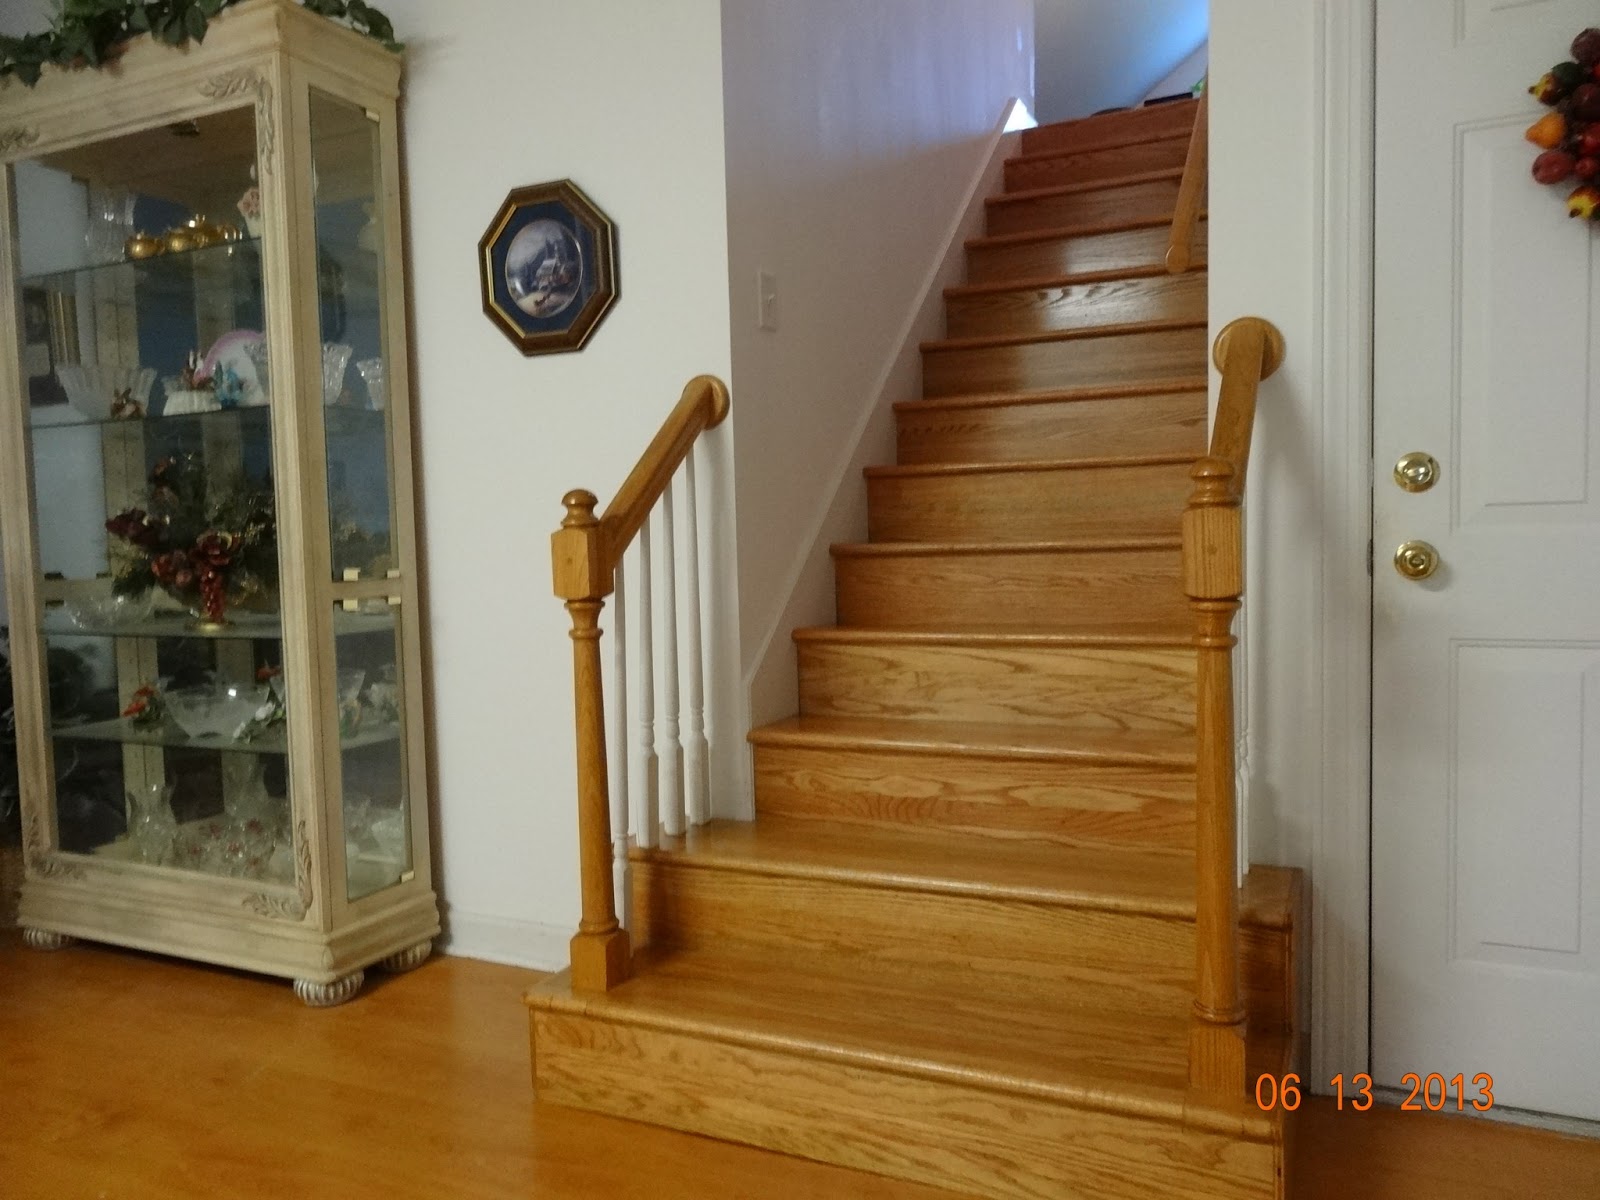
The finished stairwell as it looks down from the bonus/study room...
This is it!
*
*
NAPOMENA:
Ova stranica je posvecena opisu mog prvog (upravo zavrsenog) 'projekta', tj. stepenista od orahovog drveta obzirom da nisam vican oko 'preciznijem' rezanju drveta sem rezanje drva za kamin i neku ogradicu od letava.
Sto se naslova tice, moglo bi se nevezano sa sadrzinom teksta navesti; Od majstora do profesora i stolara (mada nisam siguran koliko sve to potpadu pod - stolarijom?!). :))
*
*


